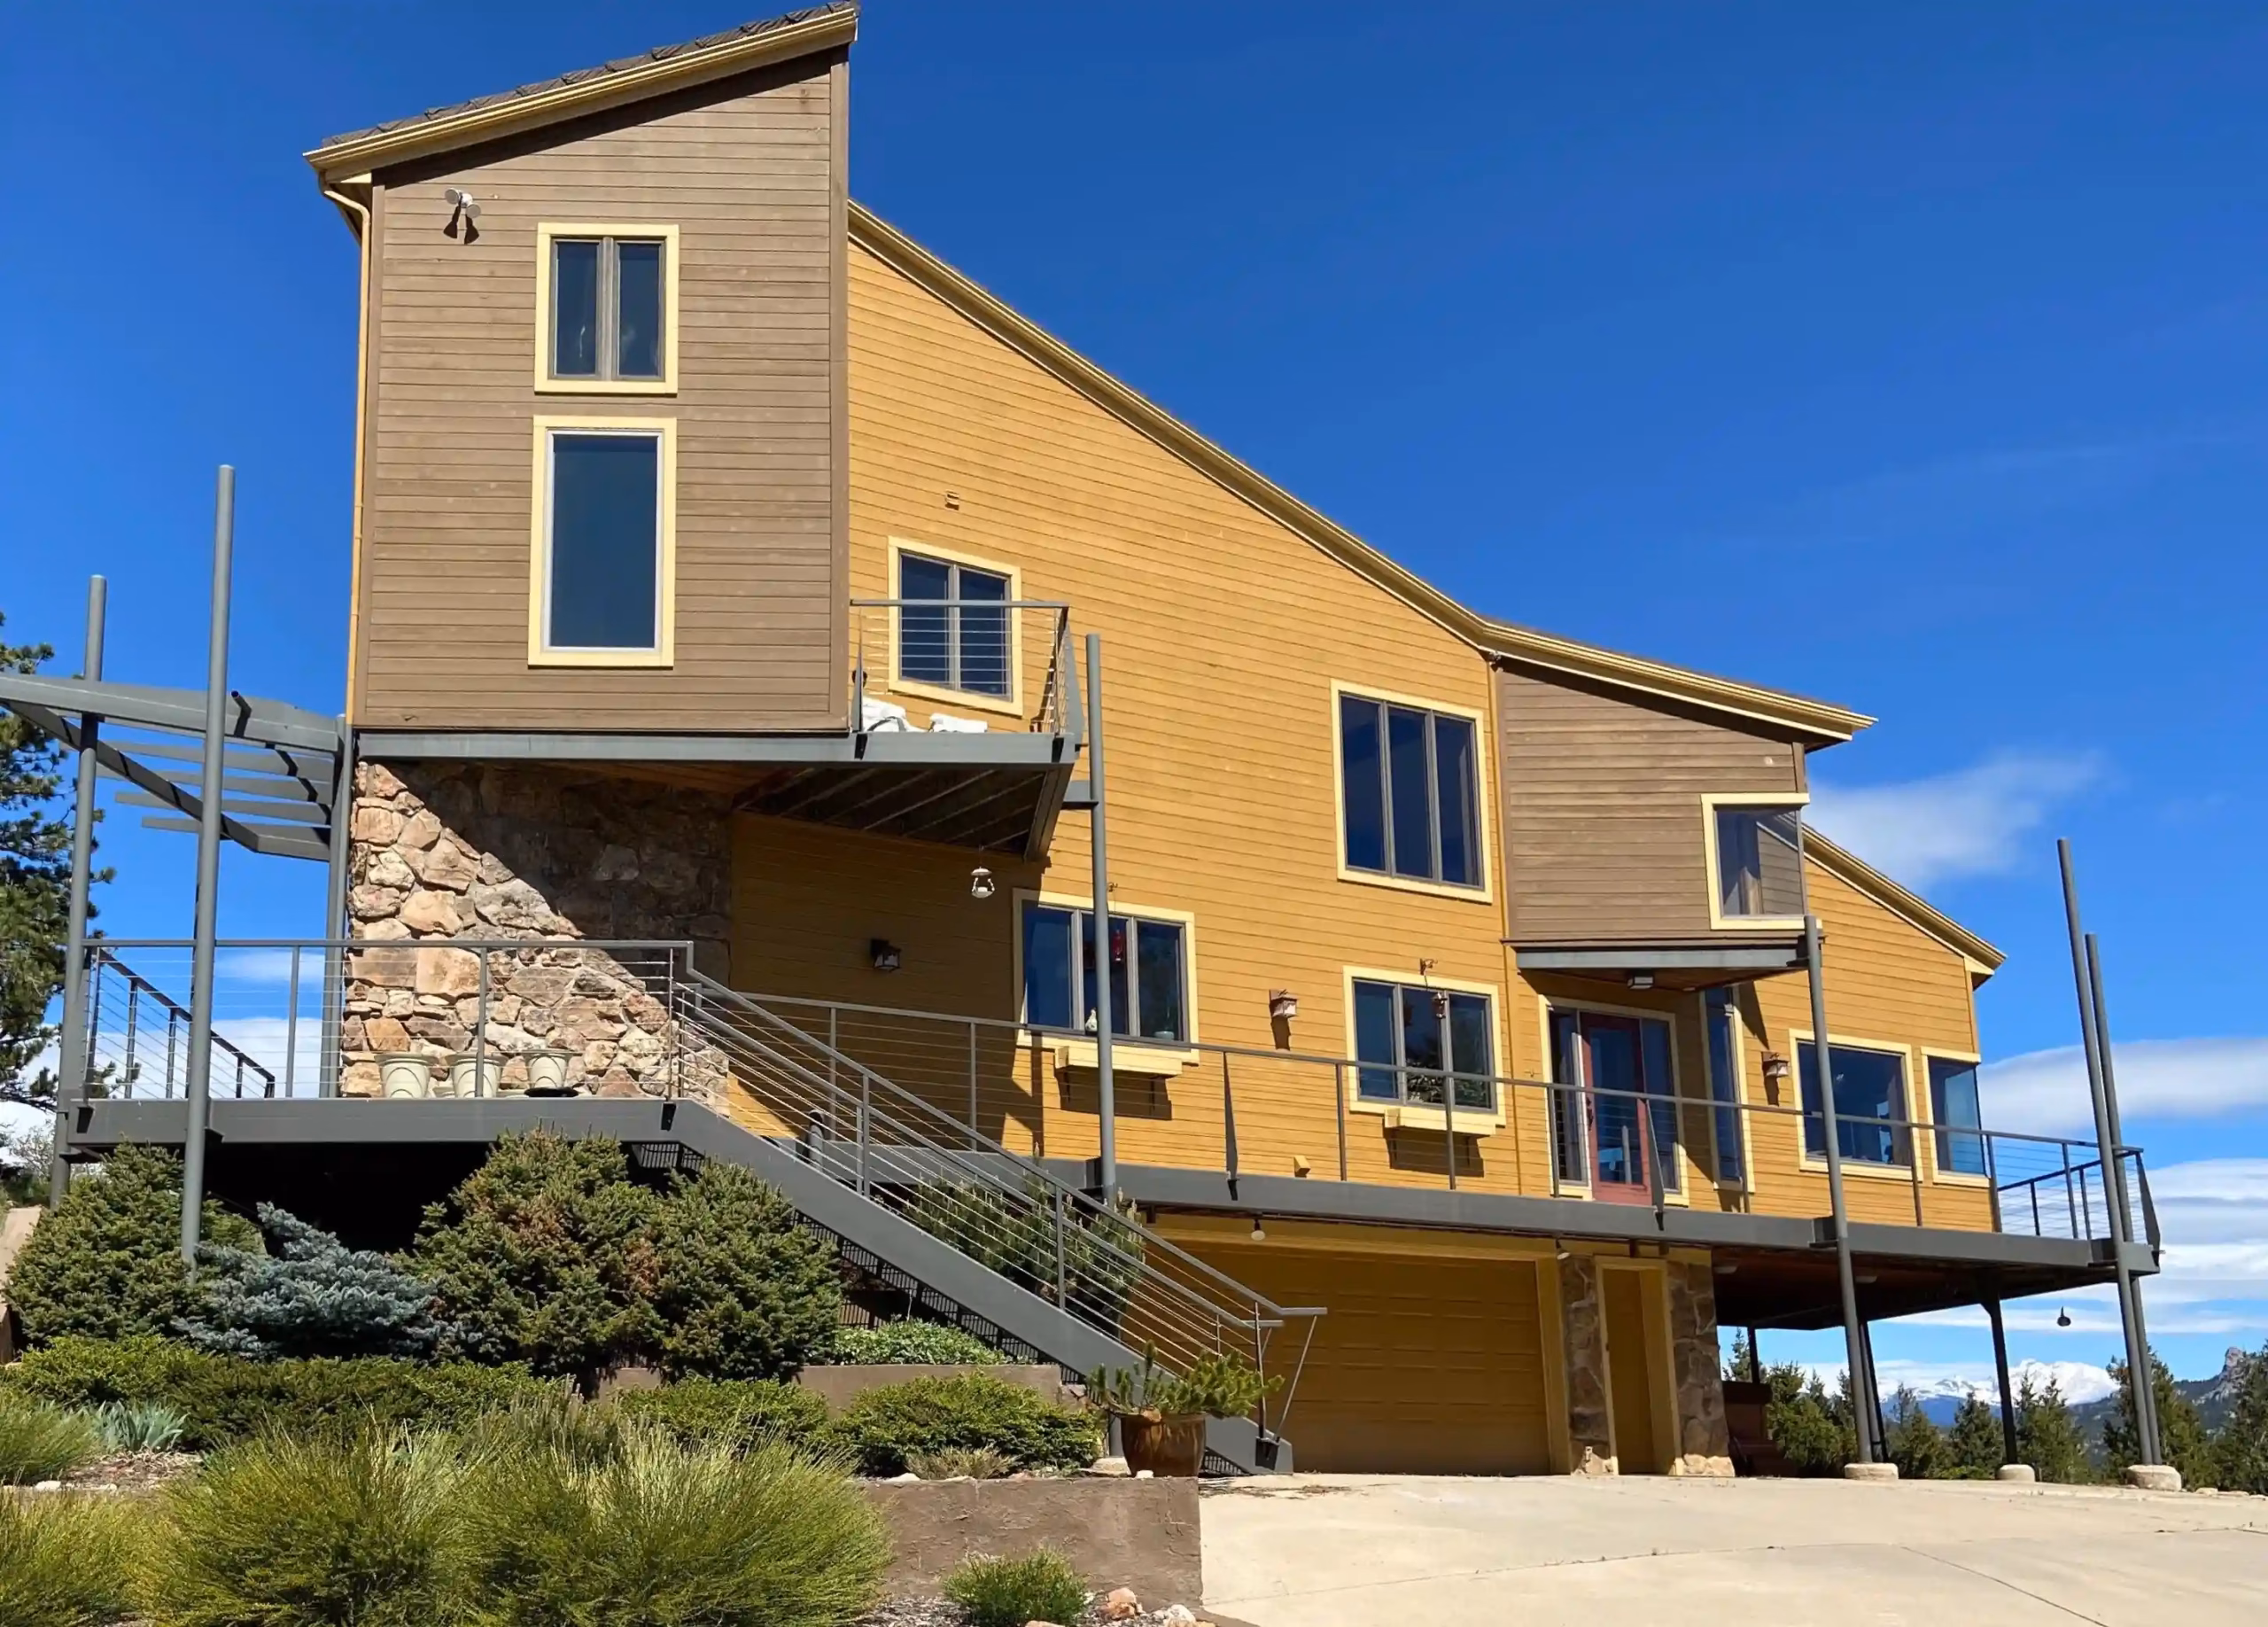
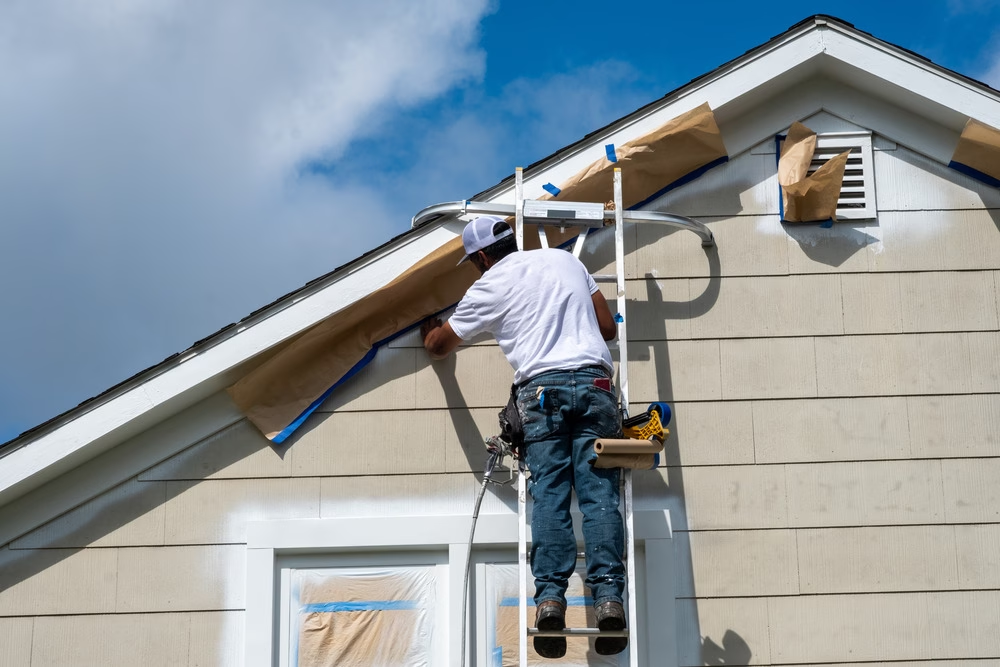
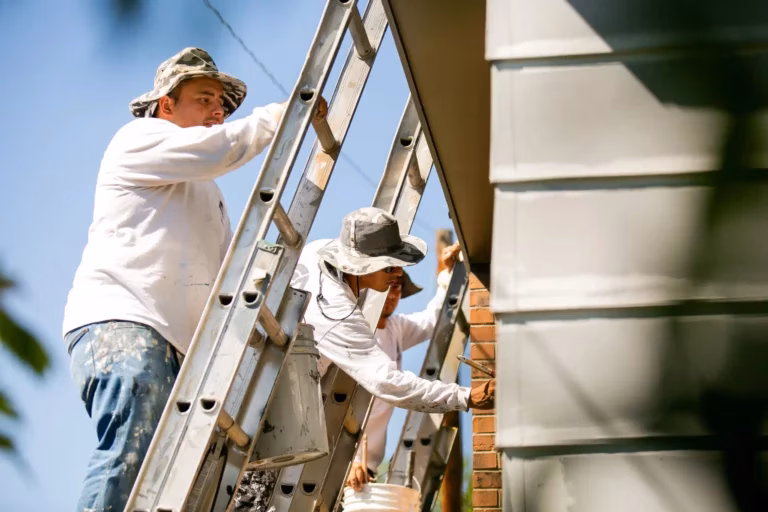
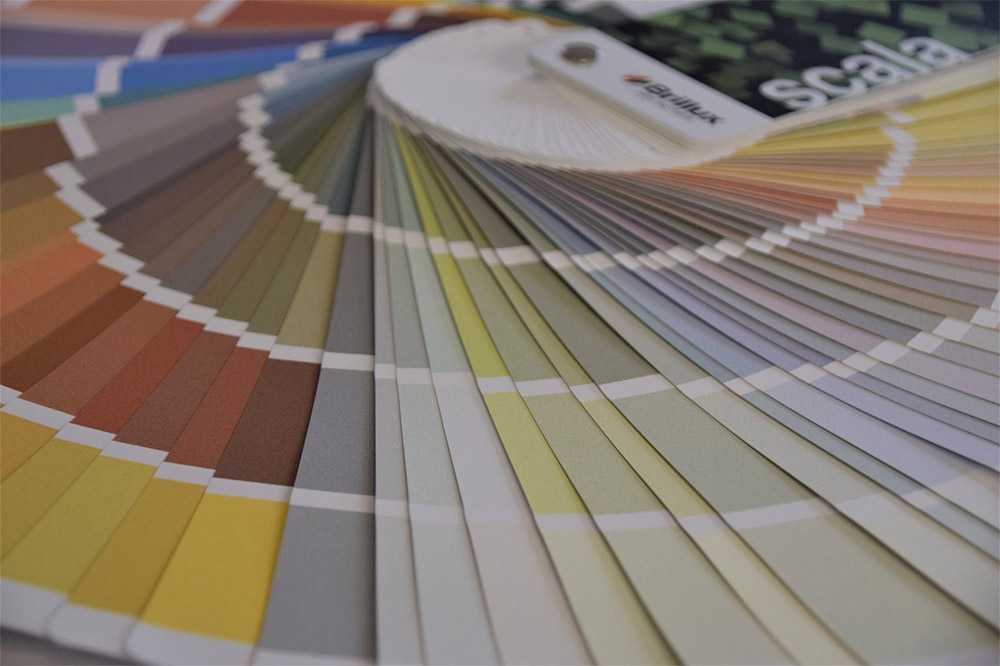
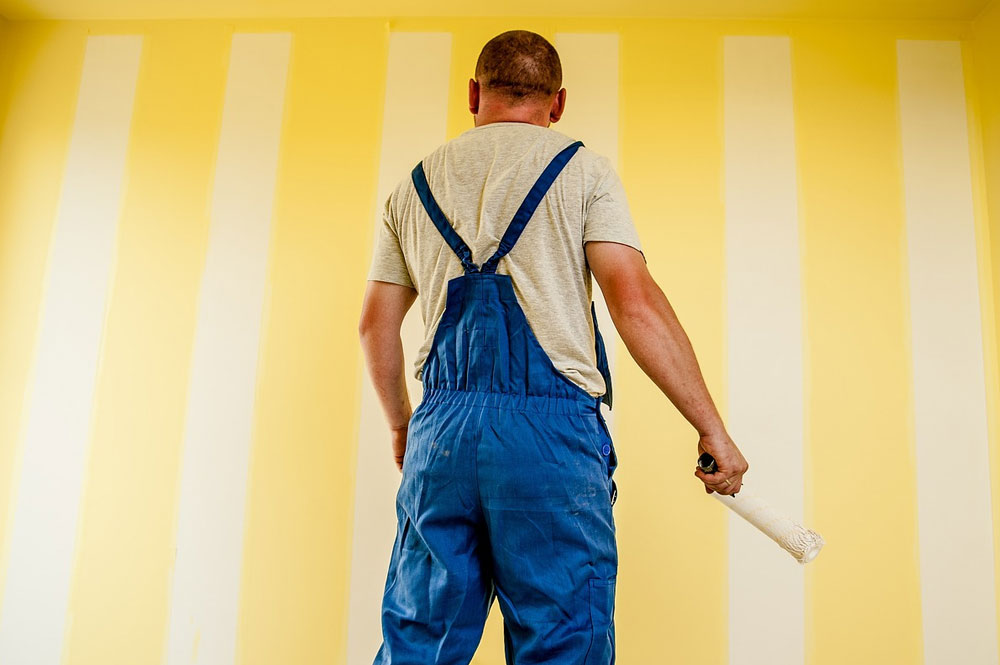
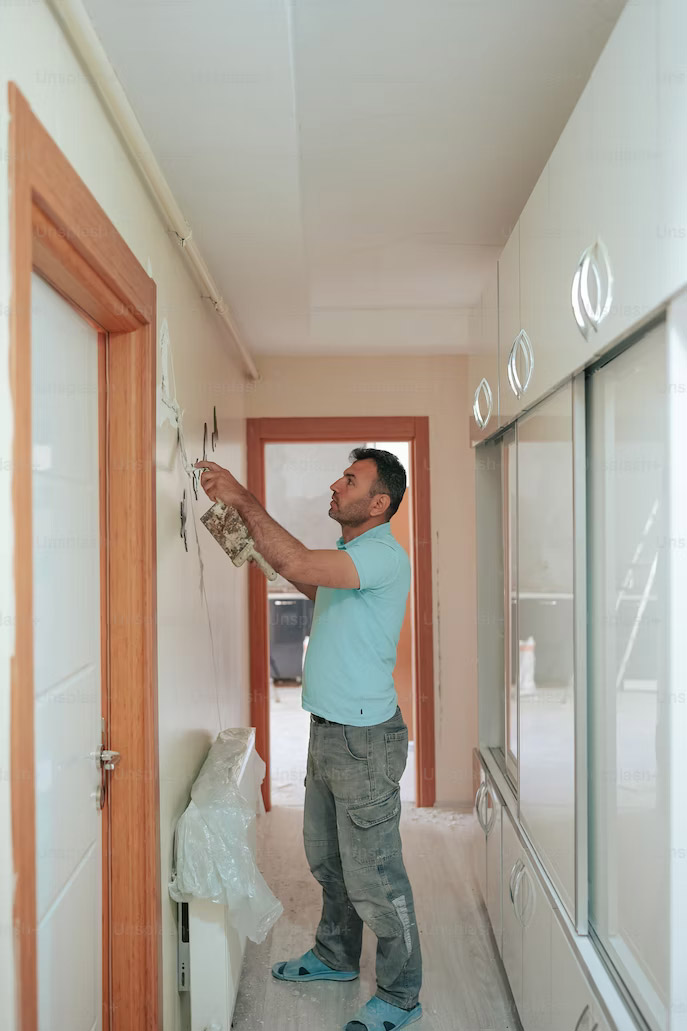
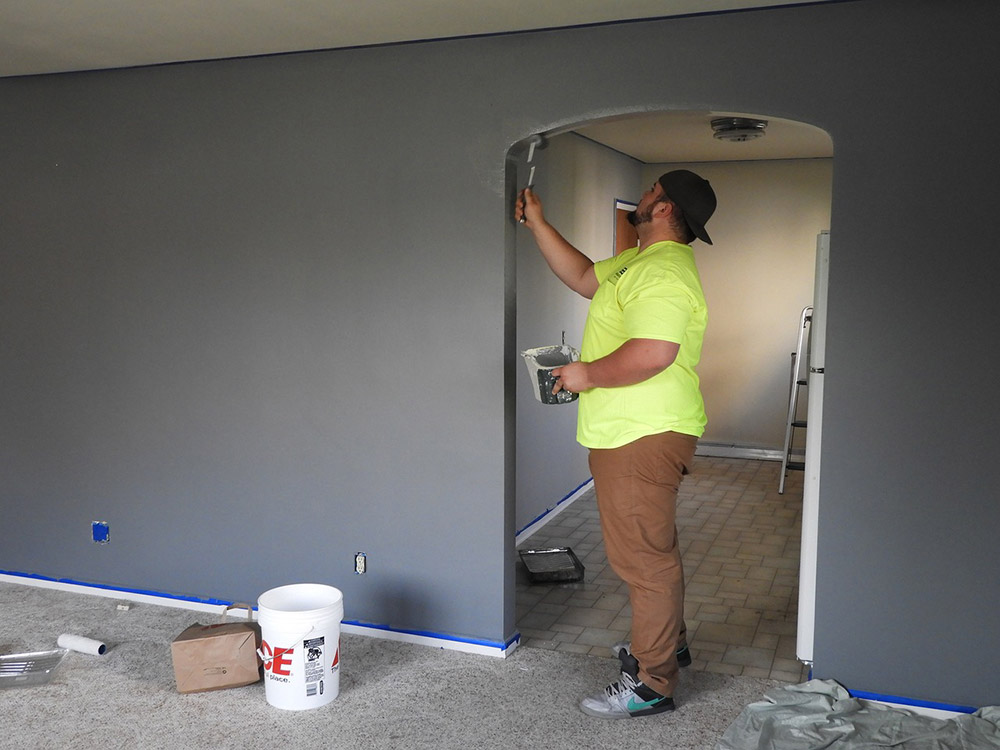
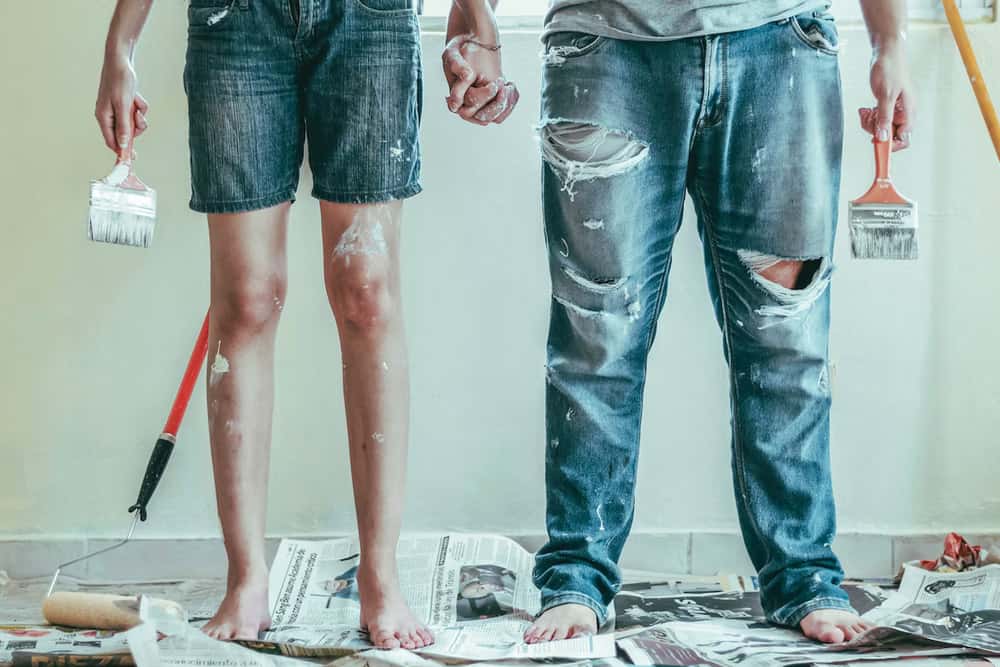
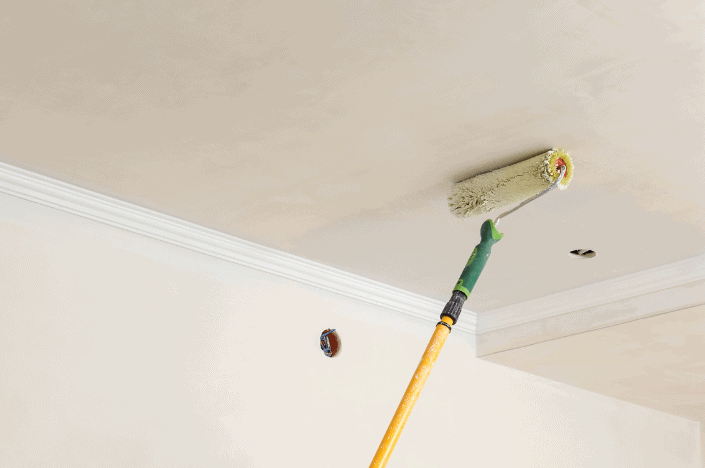
Getting the most out of your space is a challenge that everyone faces. However, depending on how you set up your space can have a big impact on the perception of how big it is – and that includes the paint you use. There are a number of ways to make your area look bigger, and combining a few techniques thoughtfully can have a huge impact on how the size of your space is viewed.

Of course, paint can’t pull off miracles like making a tiny space look like a movie theater, but it can make a big difference. Combined with the use of proper lighting, and putting your existing furnishings and décor in the proper place, a trusted Denver painting company can help come up with paint choices to certainly compliment the room.

Getting the Right Color Scheme

Color goes a long way in opening up an area. Choosing light colors – such as soft whites, light grays, pale blues, and other pastels can make the room feel more spacious. Because light colors reflect more natural light, they are great for making spaces feel open and airy. Sticking to the same color, or variations of the same color, for the walls, trim, and ceiling is also helpful. This tactic will make the room look bigger by developing a continuous flow and a reduction in visual interruptions.

Along that same theme, paint the ceiling a lighter shade than the walls. Even if it’s subtle, the lighter shade will make it seem higher, giving the illusion of more vertical space. While you’re sticking with the light theme, it’s important to avoid dark accent walls since they can close in a space. Accent walls can be stunning, but they aren’t the best tactic if you’re aiming to make a space look bigger.

Different Paint Styles Can Help

Along with the right colors, there are different kinds of paint that can help make a space seem larger than it is. Using gloss or satin finish – finishes that have a bit of sheen to them – can also reflect light, creating an even bigger sense of space. Natural light has a way of making a space seem more expansive, and utilizing this kind of paint can help make the most of natural light in the space.

Another type of paint that can make a room look bigger is to use reflective or metallic paint. This type of paint shouldn’t dominate the space, as it can be a bit overwhelming, but using it for accents can really help add depth to a room. For example, using metallic space on a backsplash can really add some dimension to your kitchen without overwhelming the overall room. Strategically placing these accents can reflect light, and create the illusion of a much deeper space.

There are a number of other ways to help you get your space to appear larger, but it has to fit in with your style and the space’s aesthetic, as well. For more information, reach out to the experts at Colorado Painting today.

Image is everything, and that means getting down to the small details to help make a lasting impression. The paint on the walls of your place of business might seem like a small detail, but the paint you choose – and how it’s applied – can make a substantial impact on the overall image of your business. A space that looks sleek and well-maintained can have a positive impact on employee morale, and the perception of your customers.

There are a number of ways that high-quality paint can impact your business, and commercial painting in Denver can help set you apart in a competitive market. Don’t ignore the importance of using high-quality paint, because it can influence everything from how clients and customers view your business all the way down to helping with resale value.

Your Look is Your Brand

High-quality paint combined with a professional paint job will deliver an air of professionalism and attention to detail. This can boost a business’s credibility because it makes the space more appealing to potential clients and customers. Every business has a brand, and implementing the colors and aesthetics of your space can contribute to that identity. High-quality paint will match the company’s brand accurately, reinforcing the message you’re trying to send.

Customers respond well to the visual appeal of a business, and it certainly impacts the experience of everyone who walks through the door. A clean, well-painted environment is much more inviting for customers. Having a pleasant experience will also make them more likely to return, and recommend your business to others. The working environment is also crucial in boosting productivity. A workplace that’s aesthetically pleasing makes being in the space more satisfying and motivating.

Long-Term Investment

Investing time and money into high-quality paint from a professional commercial painter in Denver might be more expensive up front, but can be a wise long-term investment. Paint that’s higher quality will extend the life of the paint job, and reduce the need for frequent touch ups. The durability is much higher, which provides a better investment over time. It also allows you to not constantly be worrying about maintenance – and paying for repainting efforts.

Keeping up that positive and well-maintained image is important for customers, but also for potential buyers. For businesses that own the property, maintaining a visually appealing exterior is crucial to enhancing the resale value. Using high-quality paints will show that you’ve invested in your property with top-notch materials, and will make fixing it up for sale much more appealing – should you decide to relocate or sell your business.

Getting the right look in your place of business can help build relationships on a variety of fronts. It can make the space more inviting to come to everyday for your employees, and it will improve the overall look to every person that comes into contact with your business. For more information on how high-quality paint can help your business, reach out to the experts at Colorado Painting today.

When it comes to boosting your home's value, don't forget about the significance of hiring a professional Denver painting contractor to work on your house. By carefully considering your paint colors, you can create a consistent visual appeal that will make your residence shine in your community. 

Your house has a better chance of selling with a fresh coat of paint, which is the very first thing potential buyers notice. If you’re putting your home on the market, you don’t want it to look worn out and in bad condition.

The Latest Home Color Trends

Neutral Colors

Using neutral colors makes it easier for prospective buyers to see themselves living there since the paint goes with practically anything. Additionally, buyers don’t want to have to paint right after closing on a home.

For years, neutrals have been a popular color trend in home design. Neutral colors like cream, gray, or beige deliver an endless, clean look that can appeal to a wide range of consumers.

While neutral colors are trendy, inserting vibrant touches into your residence gives it elegance and personality. Use a bold color like green or red to make your accent walls or interior design “pop.”

Earth Tones

Earth tones like brown, rust, or green are another popular home color trend. These colors have an organic, calming sense to them, making your house appear and feel connected to nature.

In the living room, choose colors that are comfy and inviting like:

In the kitchen, the right paint colors will make your eating space more appealing. Here are some fabulous kitchen paint colors to consider:

Exterior House Paint

A fresh coat of a popular color trend will always look better than peeling, old paint. Choose neutral colors that will still be trendy in the next 5 to 10 years. When it comes to exterior house painting, it’s best to let a Denver residential painting company handle the job. It has the necessary equipment such as scaffolds, ladders, and spray tools as well as the skills to get the work done efficiently. Moreover, a painting professional knows which paints to use that will hold up in any type of weather.

Best Choice for House Painting in Denver

When it comes to your house painting needs, reach out to the professionals at Colorado Commercial and Residential Painting. We know that your home is an expression of your distinct style. With over 40 years of experience providing high-quality residential painting in Denver, we guarantee complete satisfaction.

Painting a residential property can increase property value–learn about the timeline for these projects.

Residential painting is what homeowners invest in when they want to paint their homes. If you are considering having a portion of your home painted, you might wonder what that timeline will look like. In this article, we will discuss the timeline of a residential painting project and the factors that will influence it.

Understanding the Timeline for Residential Painting Projects

The average residential paint job will take between 3 and 7 days, but that isn’t always a guarantee. To better understand how these projects are scheduled, consider the following questions.

What is the Scope of the Project?

When determining the timeline for a residential painting project, it is important to know that scope will play a big role in how long it takes. The amount of time a project takes will be directly correlated with how much work is being done for the project itself.

If you need the interior and exterior of your home painted, it will often take more time than if you are simply painting a single room in the home. The surface area being painted and the complexity of the design can both influence the total scope of the project.

How Large is the Painting Team?

An effective way to speed up the timeline for large projects is to include more people on-site. A larger team will naturally be able to accomplish more–and more quickly–than a smaller team might be able to. For larger projects, having a large team can drastically cut down on the timeline for the painting process.

What Materials Are Being Used?

Paint is not a one-size-fits-all material. In fact, paints can be surprisingly different in more ways than just color. Depending on the paint that is being used, projects may experience differences in their timelines. Some paint types may take longer to dry or might require a different number of layers to achieve their final appearance. Once again, this can influence the final timeline of the project.

What is the Weather Like?

For residential painting, weather can play a key role. If your home exterior is being painted, and it starts raining on the second day of the process, the project itself can be delayed. Certain types of weather have the ability to influence, delay, or even halt projects. It is always best to have your home painted at a time when the weather is expected to be nice and consistent.

The Takeaway

Your home is one coat of paint away from looking brand new. For residential painting, Denver has many talented experts that can help bring new life to your property. To learn more about residential painting or to receive a quote for your home, contact us today. We are here to help your home look better than ever!

Painting can be an enormous undertaking, even if the size of the project doesn’t seem that big. There’s a lot that goes into every painting project, and making sure you’re ready for everything can help ensure that you’re not taking on any extra costs down the road.

When searching for a Denver painting company, it’s important to find one that will cover all of the bases and take your project as seriously as you are. Nobody wants to find out that there were extra costs that weren’t anticipated early on in the project. Knowing what to expect can not only help you understand the costs better, but it can get you on the same page with the painters to make the project take less time.

Know Your Project Before It Starts

One of the most significant determining factors in determining cost is the size of the project to be painted. Larger projects require more labor, materials, and time to complete. It’s also important to understand the complexity of the project. Intricate designs, patters, or textures can increase the cost of your project because this may require additional time, skill, and expertise from the painting crew.

Another thing to be mindful of when preparing for your project is the accessibility of the painting area. If the area is particularly difficult to reach – such as very high ceilings or particularly tight corners – it may require more specialized equipment or additional labor, and both of those impact the cost. Also, it’s going to add to the price tag if additional services are required, like removing old paint or wallpaper. All of these are things that you should be able to take inventory of before the project starts.

Be Prepared

While the size definitely impacts the time, the condition of the area to be painted is also a big factor. If the surface requires extensive preparation – such as patching, sanding or priming – it will increase the cost of the project. Applying a primer coat before painting may also be necessary, especially when transitioning surfaces between different types of paint.

Repairs are also common, and can boost the overall cost of your project. Things like filling cracks, removing wallpaper, or repairing damaged surfaces will all have to be completed before the painting actually starts. It’s also important to know the quality of the paint that you will be using. Higher-quality paints generally have better coverage, durability, and last longer, but may come at a higher price. The investment in higher quality paint will likely be worth it, especially if you want to avoid repeating the project in the short term.

There are a multitude of factors that can play into your painting project, and these are just a few of the more common concerns. Getting the right price to fit your budget is important, and using a trusted painting professional can help clear things up. For more information on the factors that can impact the cost of your painting project, reach out to the experts at Colorado Painting today.

Adding a fresh coat of paint can breathe new life into your home. Whether you’re looking to create a smooth finish or a pop of color, painting your walls can make a significant impact without having to do extreme renovations.

But painting can also be time-consuming, messy, and stressful, especially when you don’t have the tools or expertise to do the job correctly. Still, many homeowners may weigh the pros and cons of hiring professional painters or trying to tackle the job themselves.

This guide will give you an idea of some of the pros and cons of hiring a professional painting company and doing the work yourself.

DIY Painting: The Pros

Here are a few of the pros of choosing to do your own home painting.

1. Creativity

You may love the opportunity to think outside the box–and home painting gives you a pretty large canvas to express your creativity.  When you DIY, you’re in complete control over the type and color of paint you use without input from anyone else.

2. Cost-effective

You’ll save some money upfront by choosing the DIY route. You may also be able to save money by buying lower-quality supplies and paint–although this will affect the final outcome of your project.

3. Satisfaction

Completing a DIY painting project might give you a sense of satisfaction. Planning and completing a project can be very rewarding–especially if you love the results.

DIY Painting: The Cons

Here are some of the cons of going the DIY home painting route.

1. Time-consuming

Choosing paint colors, prepping walls, covering or moving furniture, painting, and clean-up can take much more time than you anticipated, even when things go smoothly. Patience and attention to detail are essential to getting results you’ll love for years to come.

2. Risk of mistakes

Most people don’t have the expertise and high-quality supplies necessary to do a great job painting. Uneven surfaces or sloppily-applied paint can be an eyesore and often require professional help to fix.

3. Health risks

Without the proper protective gear, you may be at risk of skin, eye, and lung irritation from exposure to paint and other chemicals used during the process.

The Pros of Hiring Professional Interior Painters

There are many benefits to hiring professional interior painters. Here are some reasons to let the pros handle your next project.

Save time

Painting takes time, especially when you want fantastic results. Professional painters arrive at your home with all the equipment they’ll need to do a great job quickly. They’ll clean up afterward, too. You’ll get a new, fresh coat of paint without lifting a finger.

Professional quality

You might not paint every day, but professional painters do. They have the expertise and materials to give your walls a perfectly smooth finish in the colors you choose. They will professionally manage every aspect of the project from start to finish, leaving you with the best possible results in less time.

Safety

Your professional painters will follow all guidelines during the painting process and dispose of paint and supplies according to EPA rules. You’ll rest easy knowing your home is in the best hands and that your team will follow all safety precautions.

Find Residential Painting in Denver

If you need residential painting Denver, reach out to the friendly professional team at Colorado Painting today. We’re happy to discuss your project and start a customized quote today.

The best way to avoid the most common paint problems is to understand them before tackling this can-be-intimidating project.

Color is essential in defining a room – it evokes a feeling, mood, or response from all who enter. So, it is natural for you to want to give your space a makeover to best share your unique vibe. But you don't want to do it at the risk of a poor outcome.

So understanding the pitfalls first – before you grab a brush or roller – will help you get the beautiful results you deserve.

painting baseboards yourself

What Are the Most Common Paint Problems That DIYers Experience?

Painting looks easy at face value, especially on social sites like Pinterest. But the reality is that it takes a good bit of practice, know-how, and tons of prep work to get a flawless finish.

Here are five of the most common paint problems Colorado Painting has experienced.

Now that you know some of the difficulties some people experience in painting, we can look at the causes. More importantly, we can talk about how to fix them.

What Causes Paint Cracks or Fissures?

Cracks in your paint job mean that the paint did not adhere to the surface correctly.

That's usually the result of three possible reasons:

How to fix cracked paint:

You may ask yourself this question: Can you paint over cracking paint? Unfortunately, adding more paint over this poor surface will not fix your issue.

But here's the good news.

Although the repair is time-consuming, it is a relatively simple problem to fix.

  1. Sand the affected areas to smooth the surface
  2. Vacuum up all grit and debris--then give the walls a quick wipe with a damp (not wet) cloth.
  3. Apply primer (if you skipped that step); allow the primer to dry completely (check the manufacturer's label)
  4. Reapply the paint.

flaked and cracked paint

What Causes Paint to Peel or Flake?

Flaky paint usually results from using an old or low-quality primer or paint.

Avoid the urge to "use up" old paint in the garage from a decade ago just because you spent money on it – this will only lead to more headache and paint later.

How to fix flaky paint:

Like the previous problem, you cannot take shortcuts or hide this poor finish.

Here's what to do:

  1. Use a scraper to gently separate flakes. They will likely start to come off in large peels.
  2. Sand the surface to make it smooth again.
  3. Vacuum any sanding particles and damp wipe the walls. Let them dry completely (it takes just a few moments).
  4. Apply a new, good-quality primer; let it cure according to the manufacturer's instructions.
  5. Use unexpired, good paint to reapply.

What Causes Paint Bubbling and Blistering?

Similarly to one of the previous common paint problems – paint cracking – pain bubbling indicates that the product did not adhere well to the surface.

Generally, this comes from one of these two things:

The paint may somewhat grip to the surface in most places, but other areas may have too much "slip," and that is where bubbles or blisters form.

How to fix bubbly or blistered paint:

If your wall was clean at the start of your project, you might have oil-based paint underneath – hire Colorado Commercial & Residential Painting for professional results. We have the correct bonding primer to switch from older oil-based paints to modern-day latex and the experience to give you the best finish. It is one of the common paint problems our pros see in mid-century or older homes.

However, if you have an oil-splattered or dirty wall on your hands, you can fix this problem yourself.

Here's how:

  1. Sand the affected areas to create a smooth surface.
  2. Vacuum the sanding and paint debris and use a damp cloth to wipe down all the wall surfaces to remove all dirt, cobwebs, oils (especially cooking oils in a kitchen), or any other barriers to adhesion. Let the walls dry after your wipe-down.
  3. Apply a high-quality primer; let it cure per the manufacturer's instructions.
  4. Reapply your paint color of choice.

dripping paint

What Causes Running or Dripping Paint?

Paint runs or drips indicate that you loaded too much product into the brush or roller – one of the most common paint mistakes for an enthusiastic DIYer.

Fortunately, most notice this issue pretty quickly. Stop as soon as you notice it and address it immediately.

How to fix running or dripping paint:

  1. Stop using the overloaded paint brush – grab a clean one.
  2. If the run is still wet, you can try to pick the paint up and feather it out, blending it with the rest of the surface.
  3. If the paint has already dried, you should wait until all the paint in the room dries completely. This patience will help you avoid an altogether new mess.
  4. Sand down the run.
  5. Vacuum any debris and damp-wipe the wall – allow it a few minutes to dry.
  6. Repaint the wall – don't panic if the paint appears darker than the nearby surfaces. Remember, the surrounding area is dry, and the tone changes.

How to grab the correct amount of paint with your brush:

What Causes a Poorly-Textured Wall Finish?

Poor texture arises from poor preparation, and it's usually the same culprit – a dirty or gritty wall. Some inexperienced painters get so excited to start their projects that they don't even consider cleaning first.

This common paint problem is similar to bubbling and blistering – and you can fix it the same way.

  1. Sand the surfaces to create smoothness.
  2. Vacuum and damp-wipe down every nook and cranny (not too wet!) and let it dry.
  3. Apply a good primer; let it cure according to the manufacturer's label.
  4. Reapply the paint.

Avoid Most Common Paint Problems with a Professional Painter

Painting looks easy when you look at the DIY sharers on Pinterest – but it does take practice, knowledge, and excellent preparation.

If you want a flawless finish that will impress your visitors, you might find it more convenient to rely on the Colorado Commercial & Residential Painting professionals. We will give you the luxe look you desire.

Ceilings are often the most overlooked and forgotten part of painting the interior of your home. They are easy to miss for one reason or another (maybe because we’re not looking up a lot). However, your ceiling merits the same thought put into the design, color, and overall look that your home’s walls have been given. 

As a matter of fact, painting your ceiling can lighten up the space and add a hint of warmth to your home (among other great reasons).

Painting a ceiling isn’t a pain in the neck, either. It is typically a project that can be easily and quickly done with the right tools and supplies.So, are you ready to paint your ceiling? 

Let us help guide you on the best tips for painting ceilings.

painting ceiling

Tips on Painting a Ceiling

Whether you are a DIYer or would rather have a professional residential interior painter come do it, here are some things we’d recommend when it comes to painting your ceiling…

Paint with the Right Equipment

The kind of supplies you will need in order to start painting is determined by how tall and wide your ceiling is.

For most ceiling painting, you can use a long-handled paint roller to get the job done. 

In some homes, you may need a ladder to reach the ceiling for painting. 

Before You Paint, Do Some Prep

One of the biggest tips for painting ceilings is taking time to prepare.

Set yourself up for success and plan ahead. The more preparation that’s done, the higher the likelihood is of having a well-painted ceiling.

Step 1: Make Space

Before you start painting your ceiling, make sure to move as much of your furniture from the room as you can. This will allow your painting experience to be much simpler and less chaotic. Open up the space to work as easy as you can.

If by chance you can't totally remove your furniture from the room, just push it to the middle and cover everything with drop cloths.

Take down any chandeliers or other lighting fixtures, so you have nothing in your way. This can allow you to paint the whole ceiling without the stress of getting paint on a light or fan or something. 

In the event that you can't take out a fixture, make sure the light is taped and concealed before you get everything rolling.

Step 2: Put Down Drop Cloths & Clean The Ceiling

Painting can definitely be messy, especially when you paint above your head.

You can protect your floor and bigger pieces of furniture from paint by placing down drop cloths in your area of painting.

The more space you can cover, the better. If you run out of drop cloths, you can always end up using newspapers, tarps, old towels, or even old bed sheets.

Also, prep your ceiling surface and walls by making sure to thoroughly clean them. Make sure you rinse and completely dry your ceiling before you start painting. This will ensure that the paint adheres to the ceiling correctly.

Step 3: Tape the Tops of the Walls

Tape off the tops of the walls where your ceiling and your wall meet with each other. Use 2-inch painter's tape to keep roller marks off the walls. Avoid using 1-inch tape, due to the tape not being wide enough to prevent the paint roller from touching the walls.

painting ceiling tips

Time To Paint Your Ceiling

Okay, now comes the fun part.

Step 1: Prime the Ceiling

Use your long-handled roller and apply a coat of interior latex paint primer. Make sure not to skip this step. By using the primer, it will allow for a stain-resistant and only need one coat of paint.  

When drying, follow the instructions left by the paint’s manufacturer.

Step 2: Start By Painting The Borders First

Like painting a wall, you'll need to begin by what we call "cutting in,” or utilizing smaller paint brushes to paint around the border of your ceiling. Give yourself a few inches of paint here, so that you’re less likely to touch any details or corners that you don’t want painted.

Use a brush to begin at the edge of the ceiling and paint into the ceiling a couple inches. You'll need to feather the strokes so the edge will mix in consistently once you utilize a roller to paint the remainder of the roof.

To make “cutting in” simpler, ensure you're using the proper ladder for your ceiling level. Trying to reach isn't just hazardous, but can also bring about sore muscles (literally a pain in the neck) the following day. So, get comfortable on that ladder before you get to painting.

Empty some paint into a bucket to keep at the highest point of the stepping stool as opposed to bringing the whole can.

Step 3: Grab Your Roller and Start Painting

To begin, pour and mix your paint into your paint tray. Empty paint into the roller plate no higher than where the washboard section of your tray begins to incline away from the paint pool. This is to assist with trying not to submerge the roller into the paint. This keeps from too much paint being on the roller and causing drips.

Take your long-handled roller and begin from the edge of the ceiling and begin rolling closest to a window.

Begin painting away from one corner in as straight of a line as you can until the ceiling is totally shrouded in paint.

Each time you load your roller, start on an unpainted region of your ceiling and work your way back into a painted area. Try to paint your ceiling in one session. This will allow the paint to dry consistently.

Step 4: Apply a 2nd Coat

Wait for your first coat of paint to dry in order to determine if a second coat is needed. 

Check the label instructions for dry times. 

Step 5: Clean Up

Remove the tape while the paint is wet to keep from damaging any of your hard work when the paint dries. When removing drop cloths, wait for the paint to dry so you don’t spill or make a mess.

painting interior ceiling

Leave It To the Pros!

When all is said and done, painting your ceiling can be an intimidating, messy, and time-consuming chore. While we can give tips on painting ceilings, or tips on just about anything, an expert painter from Colorado Painting will always leave the project looking as good and stress-free as possible.

So, the best tip if you aren’t up to the hassle, hire a professional residential interior painting company. A professional makes the job fast and great-looking.

At Colorado Commercial & Residential Painting, we offer expert advice, expert painting, and customer service with very competitive prices.

Contact us today for a free estimate on your next painting project.

An accent wall is an ideal method for acquainting a new look to a room without focusing on the whole room's worth of color.

Accent walls are very stylish and will look astounding pretty much in any room.

In a flash, they cause a room to "pop" and ultimately help express you as a homeowner. Accent walls can be an incredible extension to a home makeover. They are very easy to do, don’t require a lot of money, nor do professionals cost too much if you want/need help. Yet, they should be executed the correct way or risk feeling like they stick out like a sore thumb.

When approaching the task of painting an accent wall, there is a good amount of consideration you will need to put into place; what wall to put it on, selecting the best colors, etc.

So, if you are pondering whether to paint an accent wall but don't know how or what to do, here are some accent wall rules of thumb to get you started.

living room accent wall

What is an Accent Wall?

An accent wall is a solitary wall in a room that is deliberately painted in a different color variety compared to the rest of the space, to separate itself. To set the room apart for the rest.

An accent wall will typically become the ultimate focal point of the room. They can also cause a space to seem bigger and more extensive than it really is. This can be a tremendous advantage when the measured area’s size is a worry of yours.

Accent walls can be utilized in any space in your home. They are used in kitchens, living rooms, offices, bathrooms, etc.

Choosing an Accent Wall

One of the first accent wall rules of thumb is to pick the accent wall.

Picking the right wall as your accent wall is the initial step to an attention-getting accent wall.

Try to avoid using the smaller rooms in your home. Accent walls tend to look their absolute best in well-lit, open spaces.

An unfortunate accent wall decision could mean the difference between a room that is professional and a room that simply looks like it doesn’t belong.

Whichever wall you pick, be certain there's motivation to draw someone’s attention to the accent. But how will you know where to put an accent wall? Where is the best placement?

Consider the Focal Point of the Room

When deciding your accent wall location, one thing you should consider is the natural focal point of the room. Where do your eyes naturally fall upon entering?

The right wall to accent is usually the first one that you see when you enter a room.

Focal points for accent walls include:

If your room lacks any substantial focal point, try to create one. This is where you can let your imagination shine and creativity flow. Allow the furniture and decor of your home to help you create a natural focal point for your room.

kitchen accent wall

Creating a Focal Point

Think about things that stand out or help make a room stand out. That should help you create focal points for an accent wall – things like:

When considering a wall for painting, make sure that you avoid walls with large furniture or windows. This will take away from the point of your accent wall and can end up with your room looking smaller. Make sure to utilize the ceiling as well.

If colors don’t seem to be coming together, adding some ceiling color can shake the look up.

Choosing The Right Color

When choosing the best color for your accent take a look at your current color scheme. Choosing shades of that color for ease in picking. Also, using the little accent colors from throw pillows, furniture, artwork, and other items in your space.

You can use color to your advantage. Certain colors will make a short wall seem long or a long wall seem short.

The right color may even come from considering the function of the room you're decorating. Different colors evoke different emotions. The color blue is seen as more relaxing/calming whereas red is energetic.

To maintain a more neutral tone, using tans and browns keeps the space looking natural in color.

In order to not overpower your room’s color scheme, professionals use a little rule called the 60-30-10 wall color rule to maintain the space’s color balance.

Simply put, 60% of your room will have the dominant color, 30% should primarily be the secondary color, and 10% the accent color.

Think About The Other Wall Colors

Lastly, think about the other wall colors when considering your accent wall. A color clashing accent wall is a big bummer you don’t want to run into.

Accent walls tend to look their best when they connect the walls color in a scale from light to medium in shade.

Blend your bold accent wall color with more neutral colors like brown, gray, or beige.

living room red accent wall

Colorado Painting: Interior Painting Professionals

Having an accent wall can be very transformative for the way your house looks and can give your home new life. Though, as you probably know, painting can be one heck of a process (and mess).

Having a clean, dependable, and legitimate painting company will grant you peace of mind in a timely manner, allowing you to know that the painting will be done appropriately and with utmost meticulousness.

We can reduce your expenses by wiping out errors that frequently go with Do-It-Yourself paint projects.

At Colorado Painting, our knowledge in various paint styles, varieties, etc. makes us the specialists you'll want for any interior painting job.

Schedule a free estimate, where we can also give you painting tips – just like these accent wall rules of thumb.

The exterior of your home can make a huge impact on not only the visual appeal of your house, but also the way it feels. The right colors can make you feel comfortable, cozy and satisfied with how your house looks. That’s why it’s so important to choose the best exterior accent colors for your white house.

exterior accent colors for house

Top Accent Colors For The Exterior Of A White House

We know just how hard it can be to decide on a good color when there are so many options out there.

Here are our top six accent colors for your home.

Modern White

Modern white is a great color choice for a white house, especially if you're looking to give it an updated look.

This shade of white will make your home seem fresh and new without being too trendy. If you have an older home that's in need of some love and care, Modern White is the perfect way to clean up its facade while still preserving the integrity of its original design.

Unlike other shades of white that are often used as neutral colors (such as linen white), modern white can be paired with just about anything—from bright blues like Bluebonnet or Azure Cotton to rich greens like Emerald Forest or Amethyst Orchid—and still look good on any palette. This makes Modern White a great option for those who want their homes' exterior paint accent colors to complement their interior decorating schemes rather than clash with them.

Crisp Grey

While a crisp grey may sound like it would be more suited to the interior of a home, it's actually a great exterior paint color. The color can be used to create an interesting contrast between the white exterior and crisp grey siding or trim, which creates an interesting effect.

This accent color is also neutral enough to work with any type of house, especially a white home, but still has some contrast for those who want their house to stand out from others on their street. It is especially attractive when used on homes that have large windows or a lot of natural light coming into the home because they help offset some of its darker tones.

The gray family of colors includes shades like dove, silver, ash and slate. These are all neutral colors that work well with any other shade because they offer enough contrast to offset each other without being too bright or dark.

Beige Neutrals

Beige is a neutral color that works well with just about any other colors as an accent color. Beige can also be used as a primary exterior color on its own or paired with another neutral, such as gray or cream. It's also a good choice for homes with a lot of natural light because it won't reflect too much heat back into the house. The main drawback of beige is that it can look bland and boring if you don't have any accent colors on your home to break up the color. This is especially true when used as a primary exterior paint color because it won't give your home much personality or visual interest.

green accent color on white house

Forest Green

Forest green is a dark green color that looks great as an accent or background color. It's a neutral, almost yellowish-green, which gives it an earthy feel. Forest green is lighter than hunter green and can be used on its own in smaller spaces. If you want to use more than one color on your home, this would be a good choice for the area where people will be most of the time (patios/ decks) because it's less bold than many other green accent colors for your home.

Earthy Browns

If you're looking for a bold color that will bring warmth and texture to any home, Earthy Browns are one of your best options. In addition to the rich hues they offer, they also have a variety of undertones which can be used to create different looks. For example, yellows and taupes tend to be brighter and warmer while browns with red undertones are more muted and cooler in feel.

Earthy browns are especially well-suited for modern homes because their neutral tones allow them to flow seamlessly with other elements in a space without overpowering them or distracting from other aspects of design—the perfect choice if you have several different styles competing for attention!

Navy Blue

Navy blue is one of the best exterior accent colors for a white house or any light-colored house, as it contrasts nicely, like forest green does.

If you have a large house with lots of windows, navy blue is an excellent choice as an exterior accent color. The dark color will make the outside seem darker and smaller, which makes it appear more open and inviting. This color is perfect for properties that have a lot of outdoor space or large lawns. The dark hue may be too overwhelming to some if used throughout your exterior design scheme.

The downside is that navy works best with larger houses because it makes them appear smaller than they actually are! So if you live in an apartment building or condo townhouse in Colorado but still want something bolder, navy is among the best exterior accent colors for white homes.

Which Accent Color is Best for Your House?

Choosing the right exterior paint color and accents for your home is crucial. Here are some tips to help you choose the right exterior paint color:

We hope that this article has given you some inspiration for your next paint job. Whether you choose to go with a bold color or one of our more subtle suggestions, remember that the most important thing is to pick something that you love and make sure it’s going to last.

commercial exterior painting

Colorado Commercial & Residential Painting Can Help

Colorado Commercial & Residential Painting (CCRP) is a highly rated Colorado painting contractor that has over 39 years of industry experience within both Residential and Commercial properties.

A primary focus of Colorado Commercial & Residential Painting is treating its customers with respect, integrity, and clear communication. The painting industry is full of contractors ranging from independent contractors to large-scale companies and we fall right in the middle. We are here to provide a professional service that you would expect from any large company, but with the customer service and support of a small local business. Our prices are competitive and we strive to exceed your expectations.

Let us take the pain out of the painting and show you how maintaining and beautifying your home or property can be uncomplicated and worry-free. We know how to help you pick the best exterior accent color for your white home (or any color).

crosschevron-down